
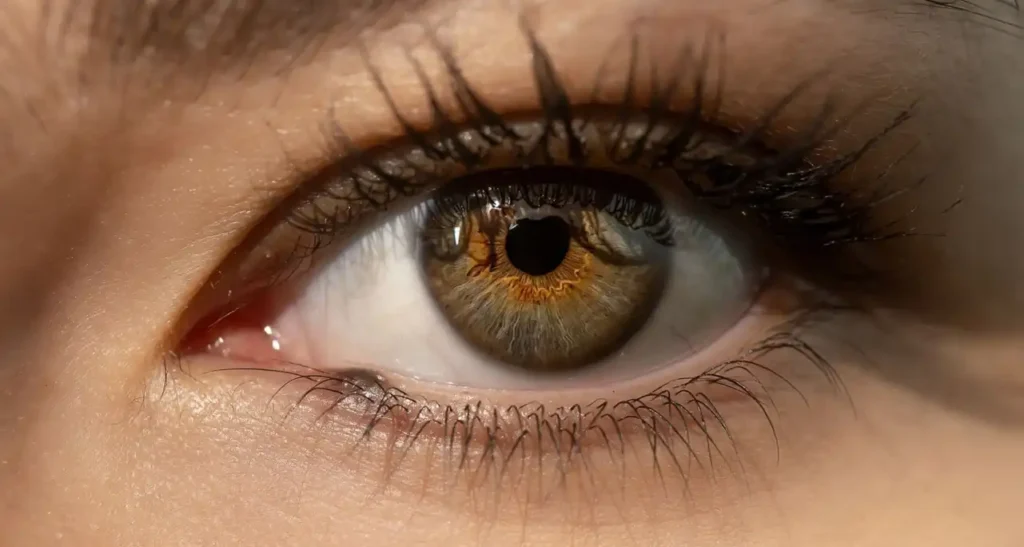
You spend ten minutes blending a lovely smoky eye. You open your eyes. It’s gone. That’s the hooded-eye experience in a nutshell, and it often gets more noticeable after 40.
The good news is that eyeshadow for hooded eyes over 40 isn’t about hiding anything. It’s about putting colour where it can actually be seen when your eyes are open, which is, after all, how most people will look at you.
This guide walks through it step by step, with UK drugstore products you can pick up in Boots or Superdrug for under £10 each, and advice from make-up artists who do this for a living.
What hooded eyes are, and why they change after 40
A hooded eye has a fold of skin that sits over the crease, so when your eyes are open, the lid space almost disappears. Some people are born with it. The make-up artist Laura Geller told HELLO! in July 2026 that “it’s also very common to develop more hooding over time.” There’s a reason for that. The American Academy of Ophthalmology explains that ageing weakens connective tissue and reduces the skin’s elasticity, and gravity does the rest, which produces “classic hooding of the upper lids”.
A brow that sits a little lower than it used to makes it more pronounced. Frimley Health NHS Foundation Trust puts it plainly: as we age, upper eyelid skin “can become loose and hang down”.
One important note. If the hooding is heavy enough to get in the way of your vision, that’s a conversation for your GP or optician. Make-up can’t fix that. For everyone else, it’s a matter of technique. As Lisa Eldridge told SheerLuxe: “don’t think of hooded eyes as a ‘problem’. It’s just another shape.”
The UK drugstore kit
You don’t need much. None of it is expensive, either. Prices were checked on 4th October 2026 and could change.
e.l.f. Lock It Down Eyeshadow Primer, £8 (opens in new tab). A smooth, creamy eyeshadow primer for long-lasting wear
Revolution Reloaded Eyeshadow Palette (opens in new tab) in Basic Mattes, £5. Fifteen mattes in nudes, browns and plums.
Revolution The Icon palette, £8.99 (opens in new tab). 12 shadows packed with high-impact cream, matte and shimmer pigment.
e.l.f. No Budge Matte Shadow Stick (opens in new tab), £6. A versatile cream eyeshadow stick that delivers high-pigment and long-lasting colour with a matte finish.
Rimmel Scandal’Eyes Waterproof Kohl Eyeliner in Brown (opens in new tab), £4.99.
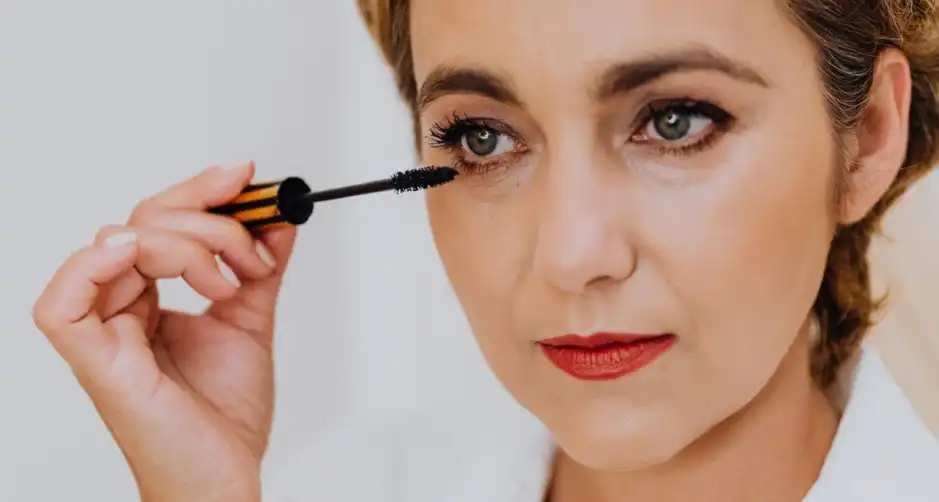
Maybelline Lash Sensational Waterproof Mascara in Very Black (opens in new tab), £9.99.
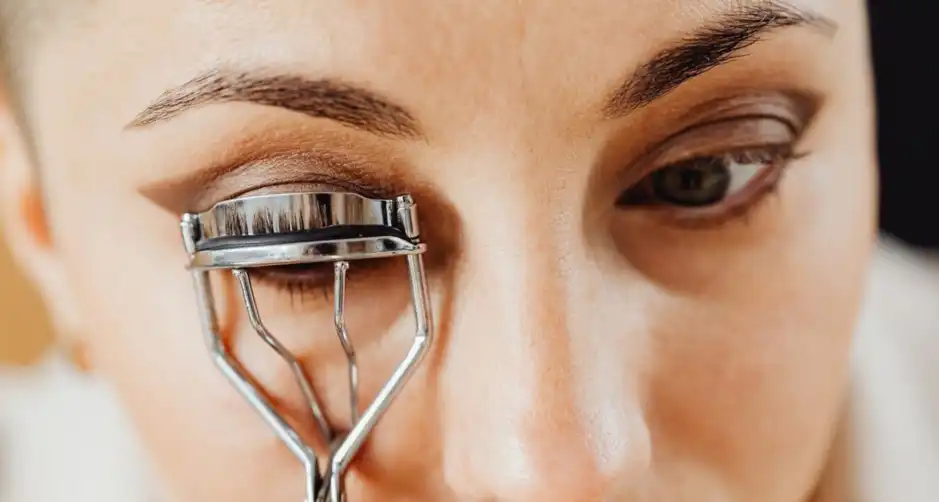
e.l.f. Pro Eyelash Curler £6 (opens in new tab)
Step 1: prime the lid
Get more from Lucy Loves Me
Beauty finds, film and TV picks and the trends worth your time, every week.
No spam. Unsubscribe any time.Hoods sit right on top of your eyeshadow. That means skin pressing against product all day. Hello, creases. Marco Antonio, a Chanel Beauty ambassador, told Marie Claire UK to apply “a long-wear base to prevent shadow and liner from sliding into the crease.” A thin layer of primer over the whole lid, up to the brow bone, is the single biggest difference you can make. Let it set for a minute before anything else goes on.
Step 2: find your crease with your eyes open
This is the step most tutorials get wrong. If you apply shadow with your eye closed, or while looking down into a mirror, you’ll put the colour in your natural crease. Then you open your eyes and the hood swallows it.
Lisa Eldridge’s advice is to look straight ahead, so your brow is relaxed, and bring the colour up just enough to frame the eye once you’re finished. She also warns against going too high, because you want some space left under the brow bone.
So, look straight ahead into a mirror at eye level. Find the spot just above where the hood folds. That’s your new crease.
Step 3: matte shade just above the crease
Take a soft matte brown, a shade or two deeper than your skin, and sweep it along that new line with a fluffy brush. Matte matters here. Marco Antonio says matte shadows are his preference on the crease and outer lid “to create depth”, with shimmer and satin shades kept to the centre of the lid or the inner corner. Shimmer on a hood catches the light and makes it look bigger, while matte pushes it back.
Blend upwards and outwards. Small circles, not big swipes. The e.l.f. No Budge stick is handy here if you struggle with powder, because you can draw the line on and then blend the edge with a fingertip.
Step 4: add depth at the lash line
Bobbi Brown’s advice for older hooded eyes is to put a slightly deeper shade, like a soft brown, close to the lash line to create depth. Press it in with a small, flat brush along the upper lashes, smudging it towards the outer corner. It doesn’t need to be neat. This bit should look soft. Think shadow, not stripe.
Step 5: keep shimmer to the centre
If you want a bit of light, a satin or shimmer shade dabbed onto the centre of the mobile lid, or in the inner corner, opens things up. Use a fingertip and press, don’t sweep. Keep it off the hood itself. That’s the one place it works against you.
Step 6: liner that you can actually see
Here’s where the rules flip. Jessica Kohn, a Laura Mercier make-up artist, told HELLO! that “thick or heavy eyeliner closes the eye down”, and suggested keeping liner off the inner corners and focusing on the outer two-thirds of the eye.
Marco Antonio goes for something “very, very thin” with a small upward flick at the outer corner. But check it with your eyes open. Bobbi Brown’s rule is simple: if you line the eye and can’t see the liner once the eye is open, make it a little thicker. If a normal flick folds or disappears, look up the bat-wing liner, where the flick is drawn with your eyes open and follows the shape of the hood.
Make-up artist Fiona Taylor told Makeup.com that it “doesn’t get lost or appear distorted when the wearer’s eyes are closed.” Tightlining is the other trick. Ruby Hammer told HELLO! that running pencil along the upper waterline “gives the illusion of thick, voluminous lashes and defines the eye.” A waterproof kohl like Rimmel Scandal’Eyes is the sensible choice for this.
Step 7: curl, then mascara
Marco Antonio calls curling your lashes “a must”. He’s right. Curled lashes lift away from the hood and catch the light, and they make the eye look more open than any amount of shadow. Finish with a waterproof mascara, since hoods tend to press lashes against the skin above them and print little dots on it.
Common mistakes with hooded eyes over 40
Doing your make-up with your eyes closed is the big one. Everything else follows from it. Heavy shimmer all over the lid comes second, then very dark colour packed into the natural crease, which can make the hood look heavier. Thick liner on the inner corner closes the eye down too. None of these are disasters. They’re habits, and they’re easy to change once you know where the hood actually sits.
Don’t forget your brows
Brows frame the whole thing. The American Academy of Ophthalmology notes that a lower brow often comes along with hooded lids, and it’s the brow bone that gives your eyeshadow somewhere to go. Leave a little bare skin between your crease colour and your brows, as Lisa Eldridge suggests. Then fill in any sparse bits at the tail of the brow with a pencil, using light, hair-like strokes. A tail that trails downwards drags the whole eye with it, so keep the end of the brow level with, or slightly above, where it starts. It sounds small. It changes everything above the lashes.
A five-minute version for weekdays
Not every morning is a seven-step morning. On a rushed day, primer, one matte brown blended just above the crease with your eyes open, a bit of tightlining and a coat of waterproof mascara will do most of the work. The e.l.f. shadow stick is the fastest way to get there, since you can draw it on and smudge it with a finger. Then out the door ready to start your day.
Read next
Do you need SPF in winter in the UK?Yes, and here’s the one I actually use
Helix Piercing Guide: Pain, Healing Time, Jewellery & Trends